This blog provides an easy method to export images resides in SQL Server database table, with the use of SQL Server Integration Services (SSIS). The method can be used to extract pdfs as well.
I have used Visual Studio 2019 as my ETL tool, and the database is AdventureWorks2012 and table is [Production].[ProductPhoto].
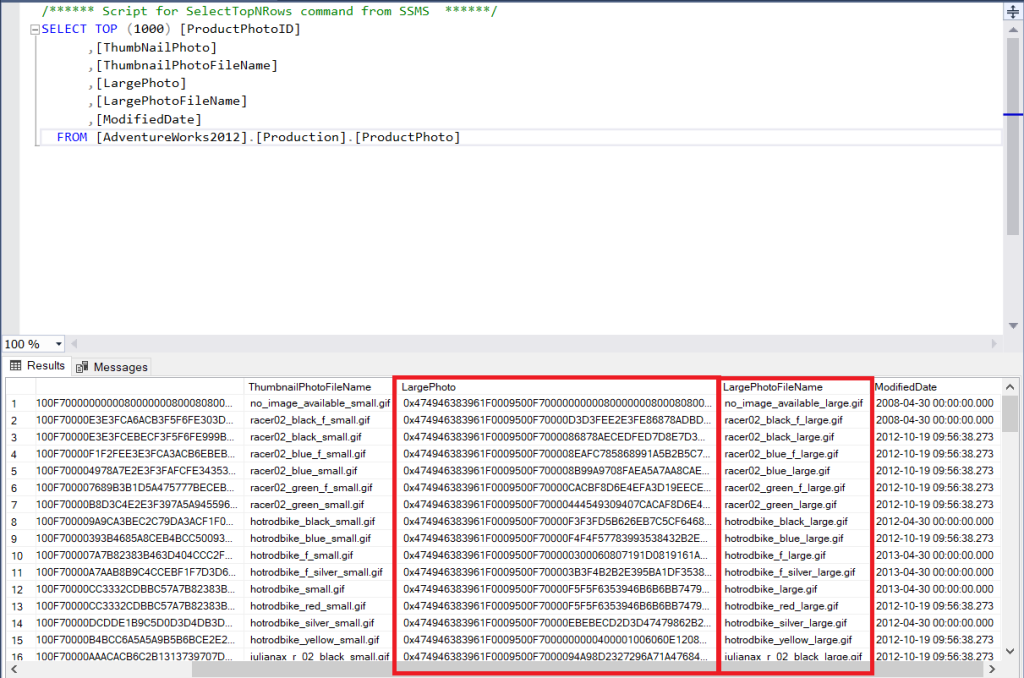
Figure 1 Columns to be extracted
STEP 01
First open Visual Studio and create a new solution (or add as a new package or project if you have an existing solution).
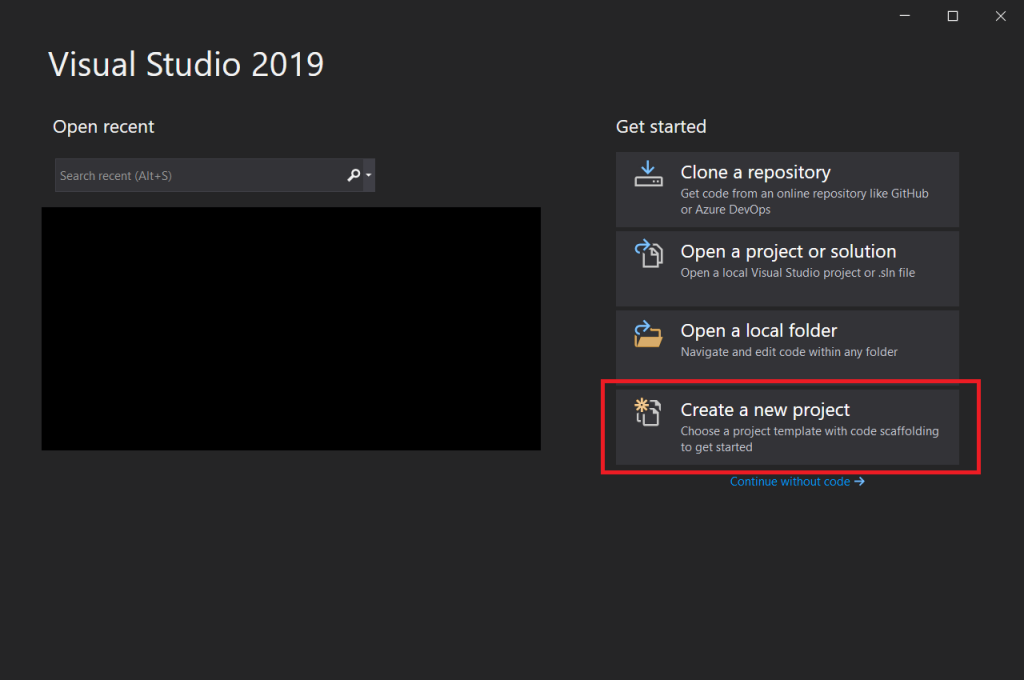
Figure 2 Click on create a New Project
Then you will prompt to the following window. Search for Integration Services Project select and click on Next. If you don’t find Integration Services Project in the list, you need to install)
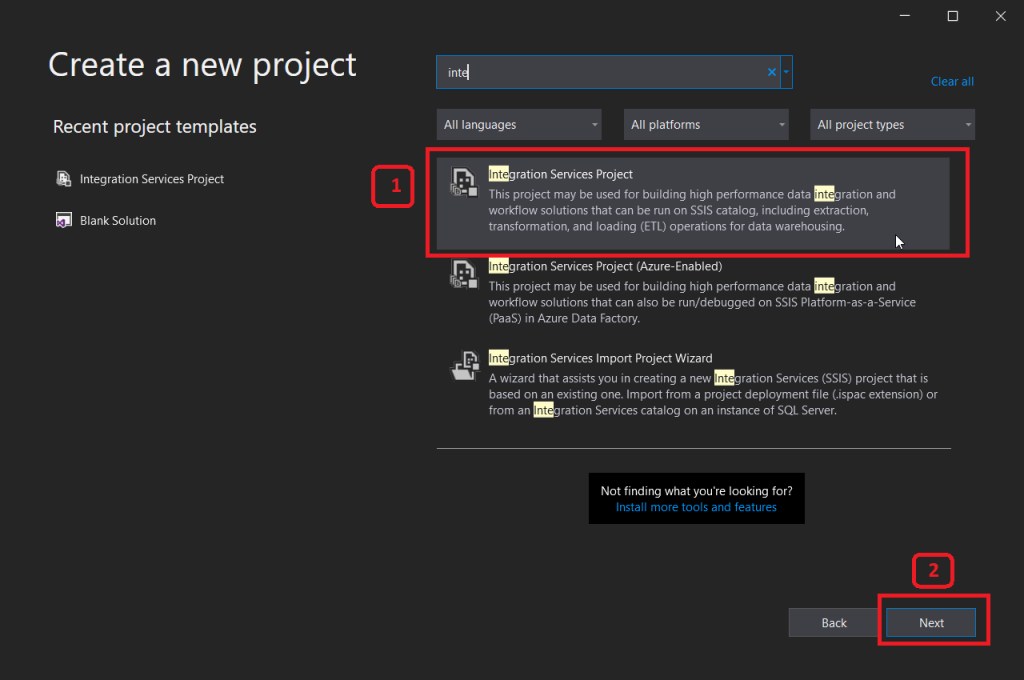
Figure 3 Search for Integration Services Project
Provide a name for your Project and browse for a location to save your Solution if the default location is not preferred.
After adding the configurations, click on Create.

Figure 4 Configuration of the Project
STEP 02
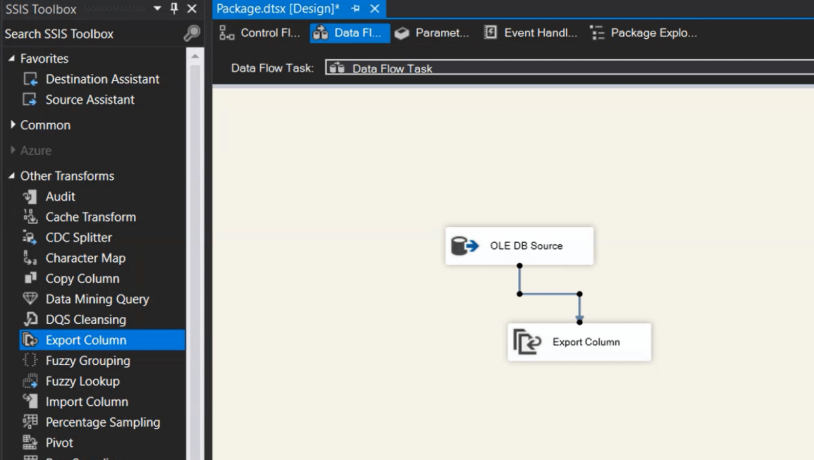
Now add a Data Flow Task either by drag and drop to the Control Flow window or double click the component.
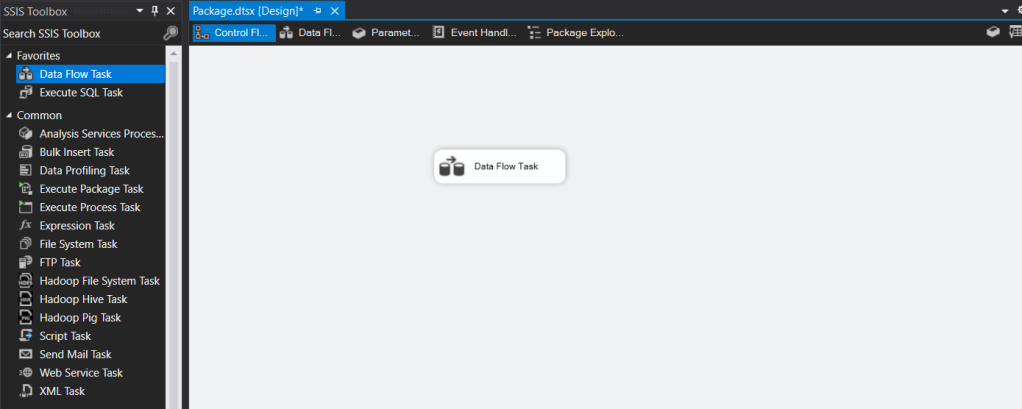
Figure 5 Add Data Flow Component
Double click the Data Flow Task and add an OLE DB Source component (since my source is SQL Server database).
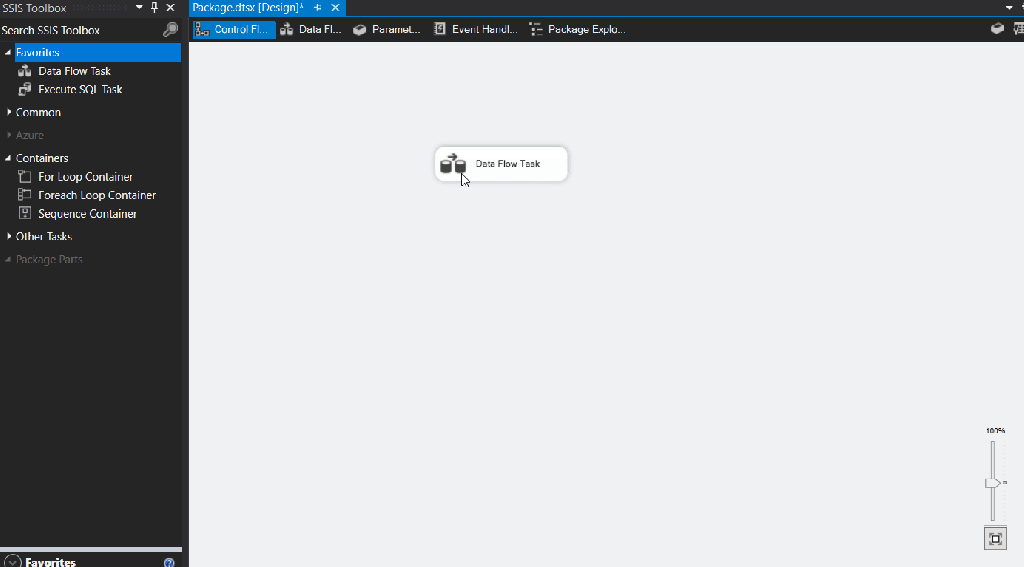
Figure 6 Add a OLE DB Source to the data flow
STEP 03
Now it’s the time to configure the Source Component.
Double click the component and create a Connection Manager for the Source (if the connection manager doesn’t exists)
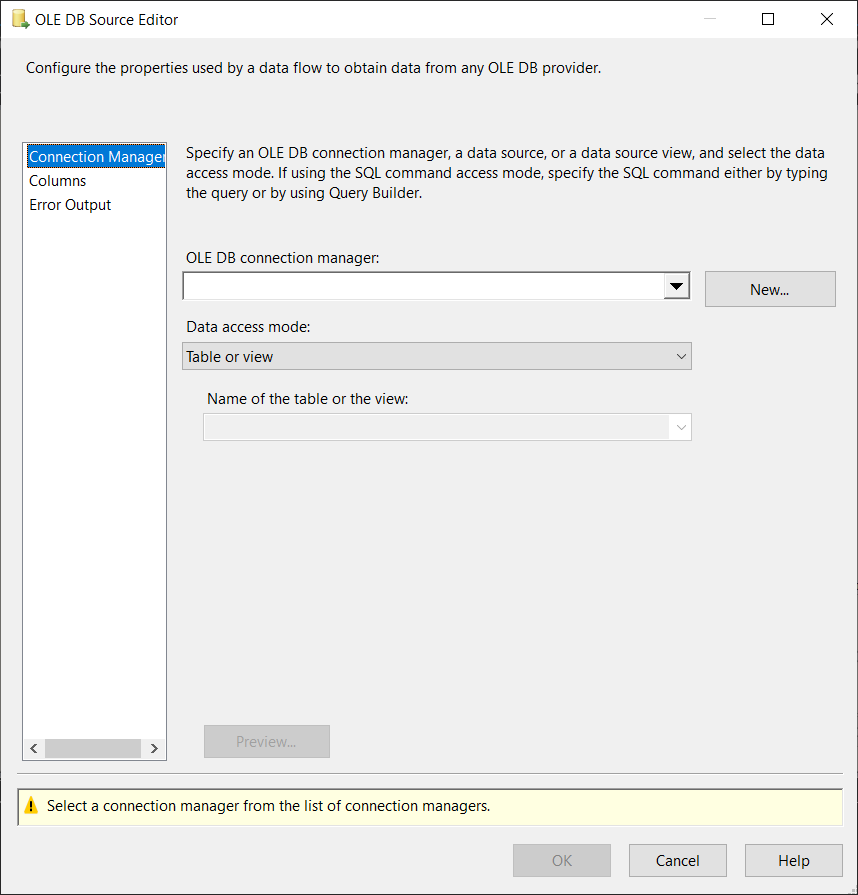
Figure 7 Double click the Source Component
Let’s create a connection manager.
Click on New from the below window.
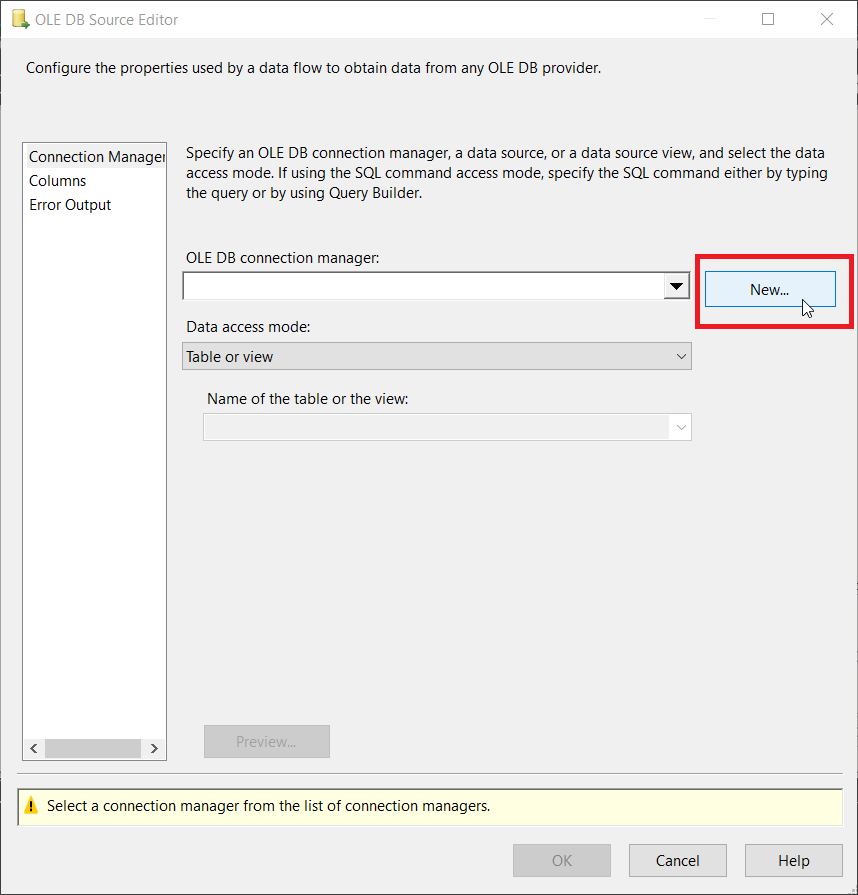
Figure 8 Click on New to create a connection manager
Again click new on the Configure OLE DB Connection Manager window.
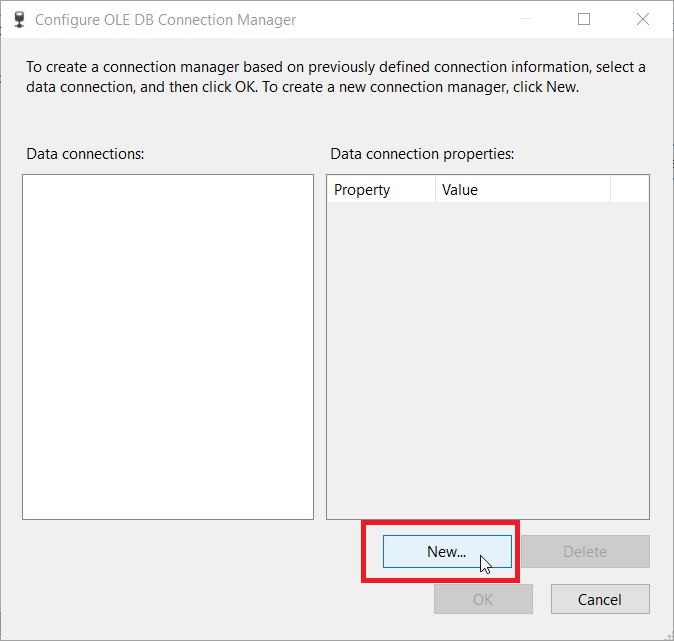
Figure 9 Again click on NEW
Once you click on new you will prompt to the below mentioned window and click on the drop down list, and select your SQL Server instance name where the required database exists.
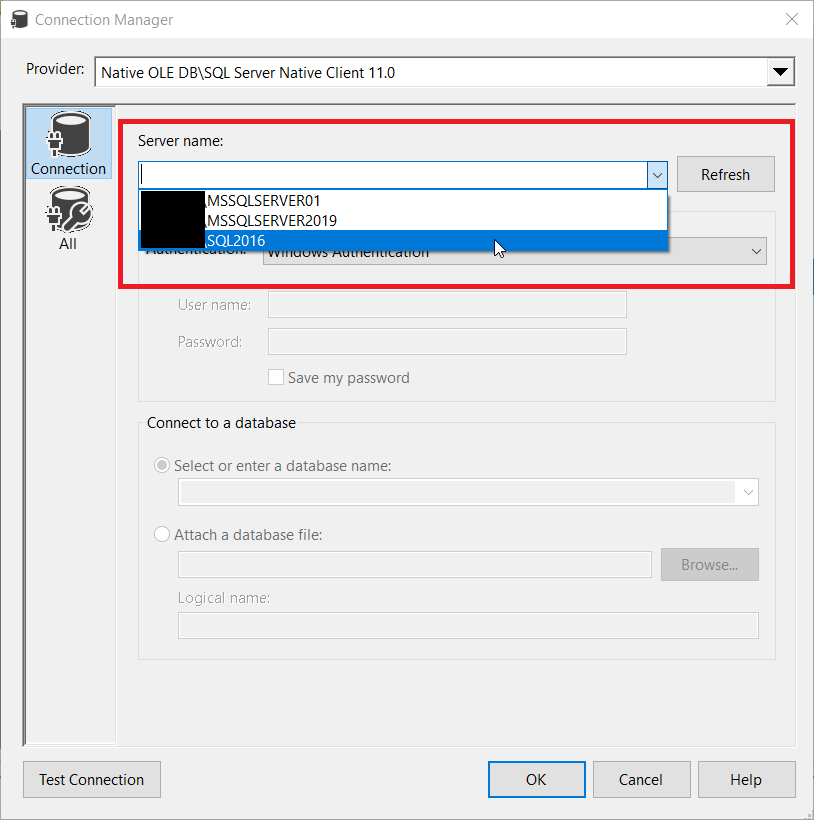
Figure 10 Select the SQL Server instance name
Now click on the dropdown arrow to select the database where the table with photo details resides. I will be selecting the AdventureWorks2012 database.
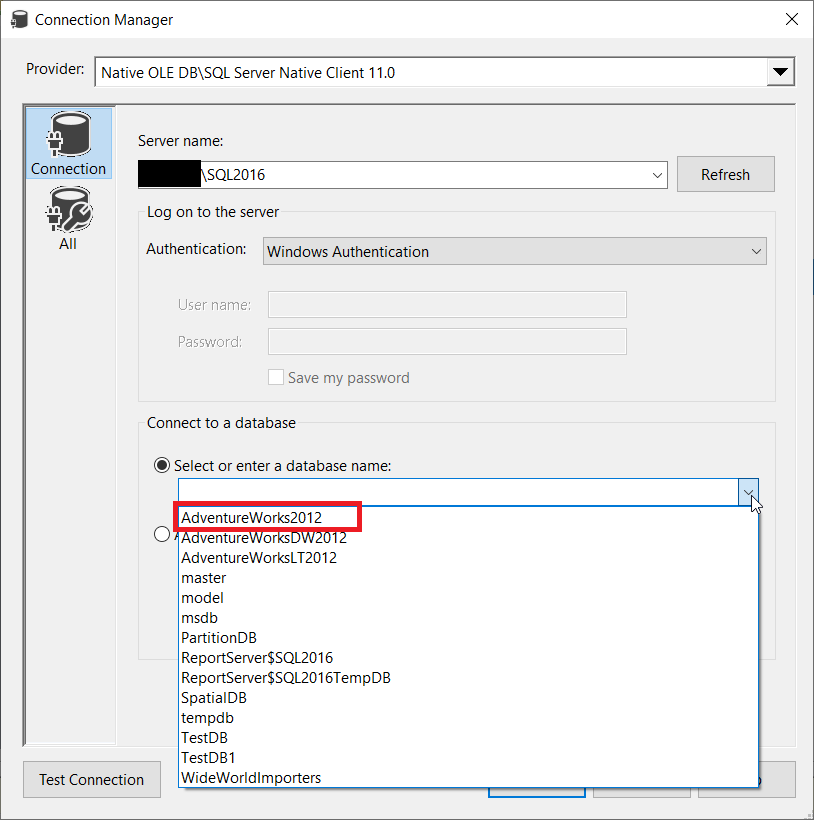
Figure 11 Select the Database
Click on Test Connection to confirm, you have a connected the database properly.
Click on OK thrice then you will be back in OLE DB Source Editor Window. Now select SQL Command from Data access mode drop down list.
STEP 04
Make sure you have created a folder to save the image files. I have created a folder named Product_Images in D Drive as follow.
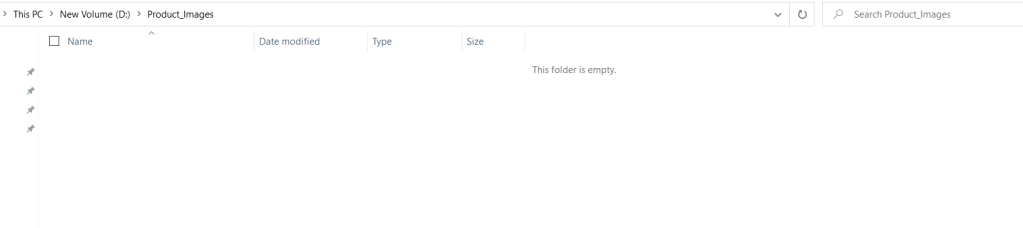
Figure 12 Photo saving folder
Now type the following SQL query in the SQL Command text.
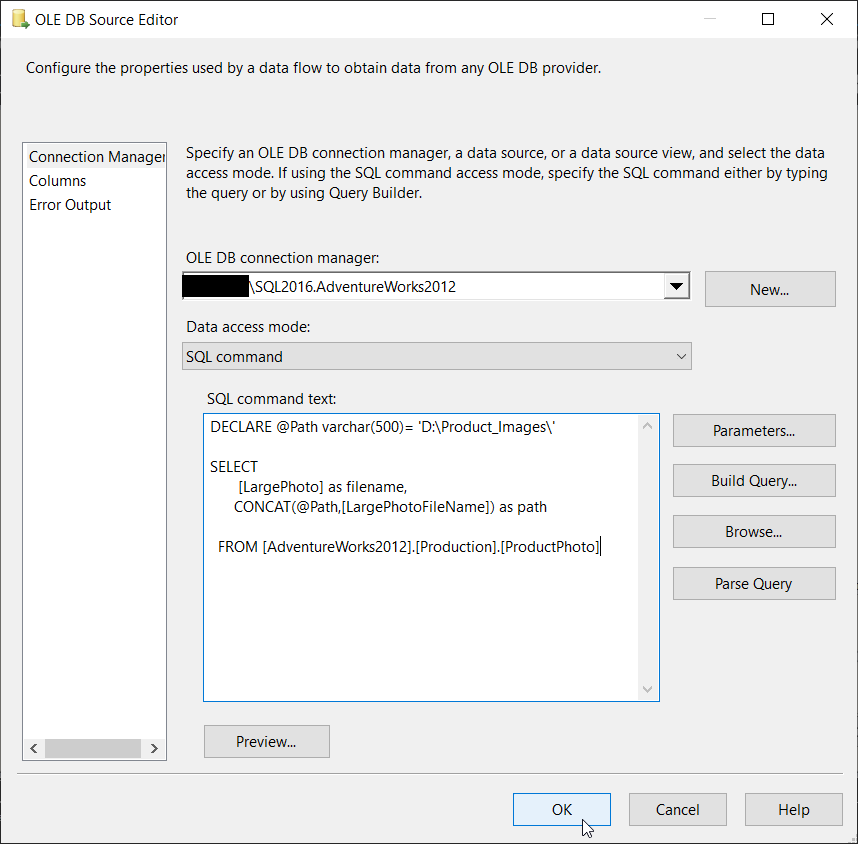
Figure 13 SQL Query to declare path and image files
Explanation of the query:
DECLARE @Path varchar(500)= 'D:\Product_Images\' SELECT
[LargePhoto] as filename,CONCAT(@Path,[LargePhotoFileName]) as pathFROM [AdventureWorks2012].[Production].[ProductPhoto]This is the path where images will be saved. Make sure to add the backward slash ( \ ) at the end of the Path variable name.
This is the column with the hexadecimal code of the image
This is the folder path with the file name to be saved
NOTE: If your file name doesn’t include the photo type make sure to add it in the path column.
If you click on preview the data can be viewed as follow.
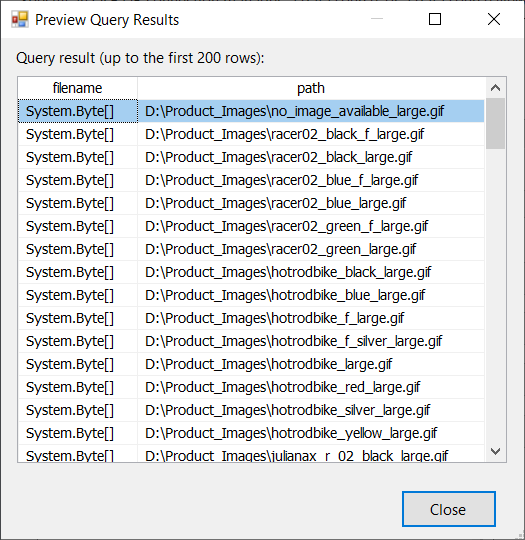
Figure 14 Preview column names
Close the Preview window and click on OK.
STEP 05
Drag and drop the Export Column component and connect with the OLE DB Source as follow.
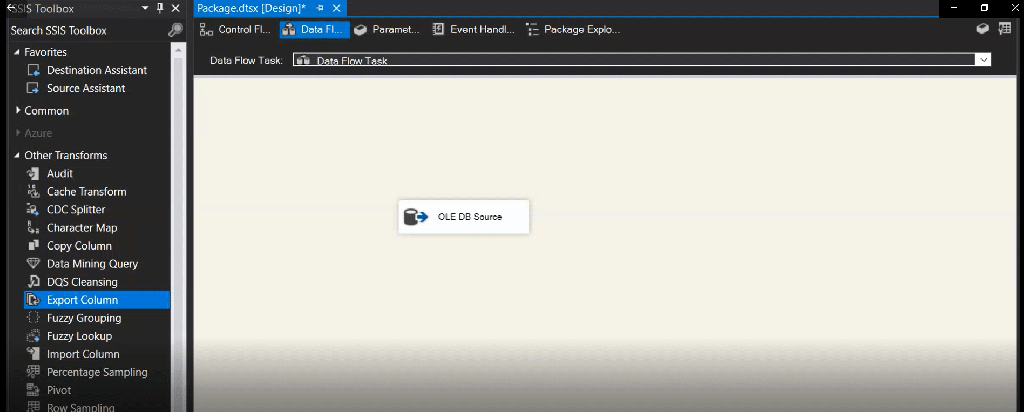
Figure 15 Add Export Column component
Now double click the component. Click the drop down of the Extract Column and then select the photo file name. Then select the path from File Path Column drop down.
Now select how you want the files to load Append or Force Truncate. Please refer to this for more details. For now I will select Append option. And click on OK.
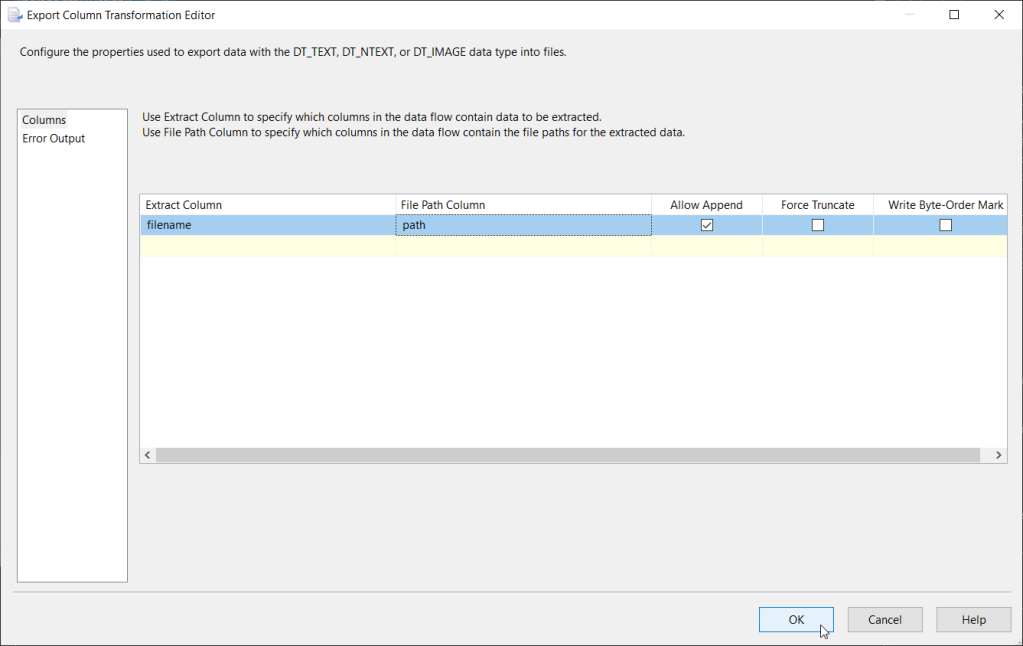
Figure 16 Final view of the Export Column Component
Now save and execute the package.
After the package executed successfully check the folder for the images.
Images are loaded…

Figure 17 Images are loaded
Please find the solution in GitHub.
NOTE:
Sometimes you might face issues like, the path is not visible in the Export Column component as follow.
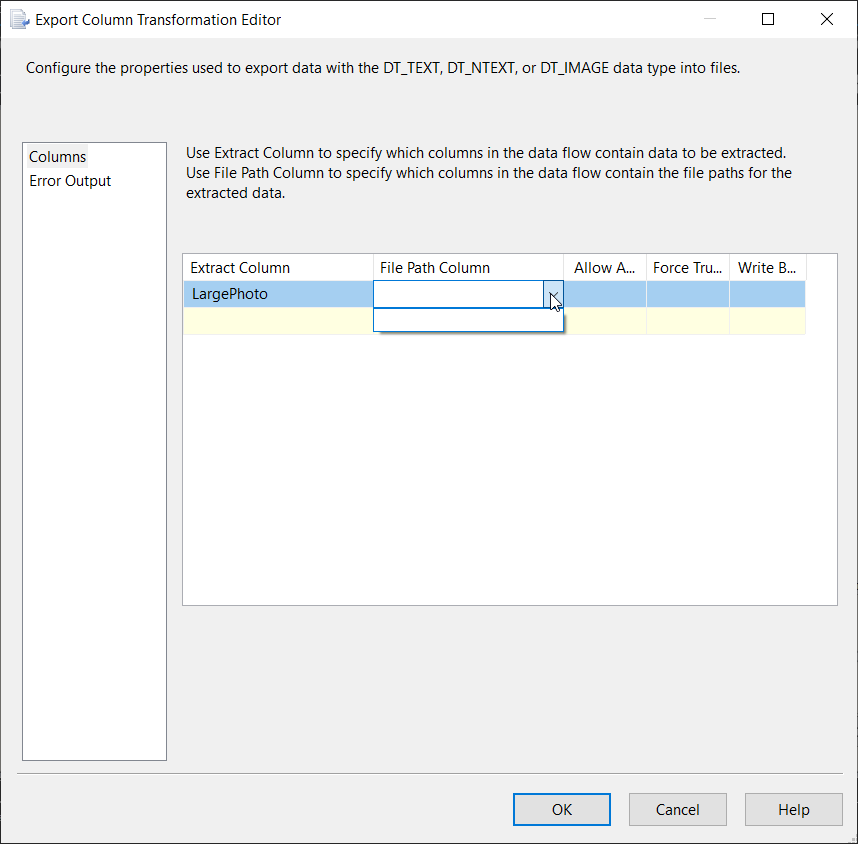
Figure 18 Path column is not enabled in Export column component
There can be two possible reasons for that.
Reason 01: The folder may have restrictions to access. So that, make sure the folder is accessible. Configure the security property of the folder accordingly.
Reason 02: The file name being a numeric value (for example an ID of the image or pdf file). Make sure that the path is totally in data type varchar.
Solution for Reason 02 can be found in this GitHub repository.
