
Environment variables are created in SSMS in order to avoid manually updating the connection strings of the packages after deployed to the server. These are the steps to create environment variables. The sample environment variables are created for the project I deployed in my previous blog.
Step 01
Right-click Environment subfolder and select Create Environment.

Provide a name for the environment. Then click ok. Soon after creating the environment you will be able to see the created environment in the Environments subfolder.

Double click the created environment, select Variables and enter all the project parameters. These can be found under the Project.Params window in your SSIS project. Then click ok.

Right click on the project and select Configure.

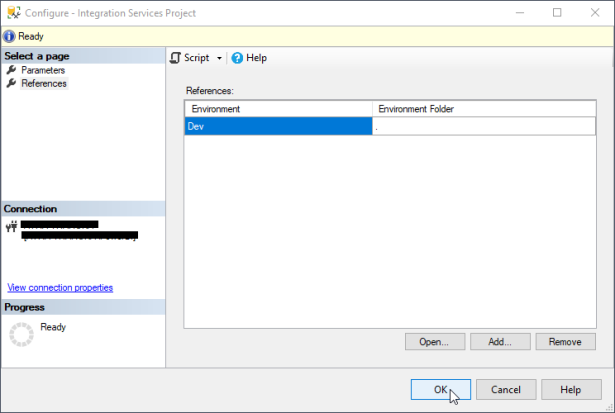
Select the reference tab in the Configure window as follow.

Click “Add” and select the created environment which is located under the local folder.

Then the configure window will appear as below. Click “Ok”.
Step 02
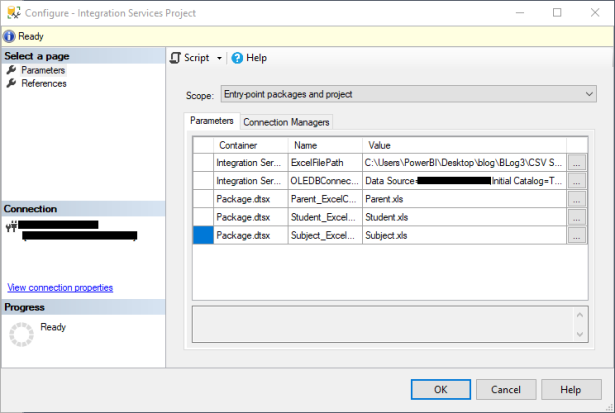
Once again right click the Project and select Configure. Then select the Parameterize tab. There you will find the Parameters with their Values. Select the icon on the right-hand side of the Value.
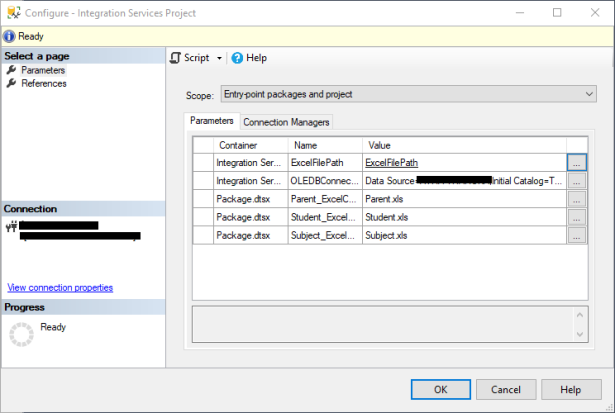
Then the following window will appear. Select the radio button “Use environment variable”. And select the name provided in the SSIS package from the drop-down list.

After selecting as above you will see the Name of the value has changed to the selected value form the drop down list and that value is underlined.
Repeat the step for the other project parameters.
Creating environment variables provides an advantage which is if our project parameters were changed in the SSIS project we don’t need to manually update them in the SSMS. We only need to deploy the project from SSIS.
Now you are ready to execute the package via SSMS.
- Note: Make sure that before executing, validate the project.
Finally, the package execution is succeeded.

